Map the guest journey
Start at the first point someone sees: the storefront, parking lot, check-in, or entry. Then move through the event in order. What introduces the brand? What helps people find their way? Where do they take photos, learn about the product, and pick up something to keep? A simple map exposes the printed pieces that make the whole experience feel intentional.
Build one visual system
Use the same few visual cues across the launch: type, color, materials, and a small set of recognizable graphics. That system can carry from a window graphic to table cards, packaging, apparel, menus, wayfinding, and social-ready moments. It does not require every piece to look identical; it gives every piece a reason to belong together.
Plan production with installation in mind
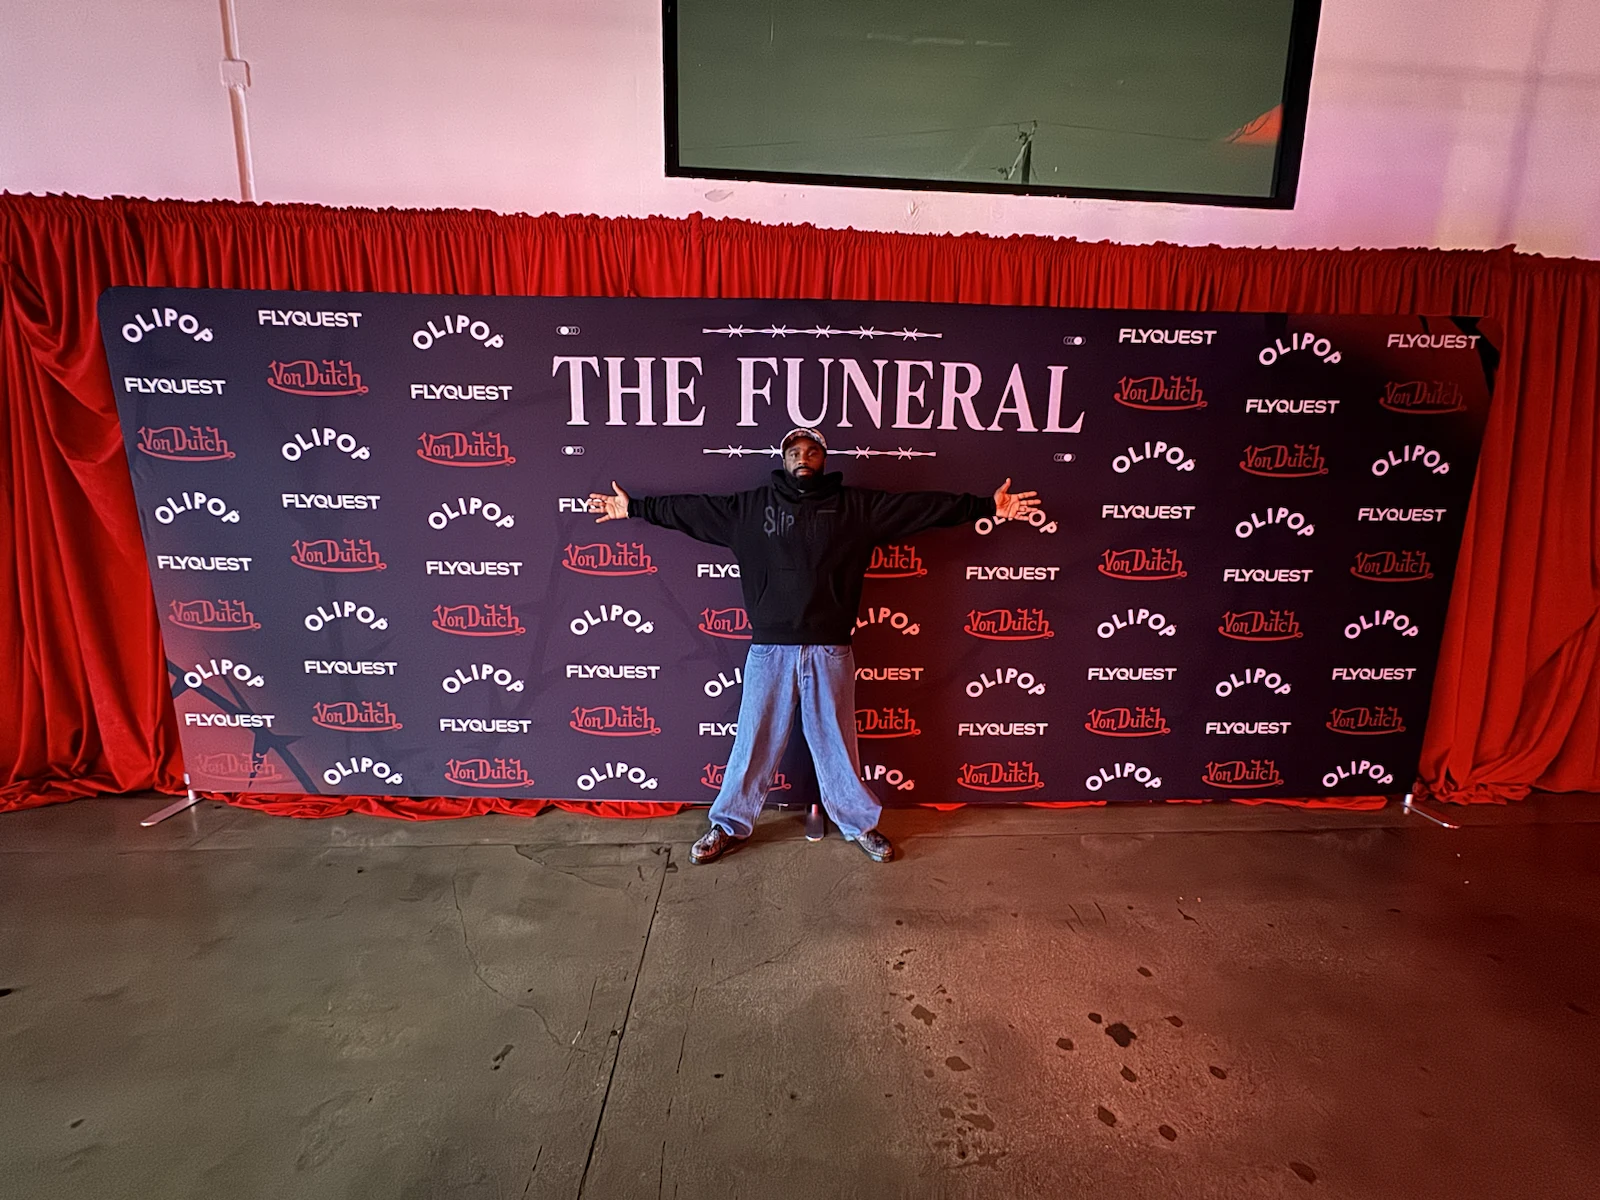
Large graphics, displays, banners, decals, and signs should be planned alongside the space they will occupy. Measure walls, windows, tables, and entry points early. Decide what needs to arrive pre-built, what can be installed on site, and what needs to be removed after the event. This avoids a beautiful idea becoming difficult to execute on launch day.
Give people something to take away
A takeaway can be packaging, a printed card, a sticker, an apparel piece, or a small useful object. The goal is not to make more merchandise. It is to choose one thing that carries the brand beyond the event and feels worth keeping.
Work backward from the date
Set the launch date first, then create checkpoints for artwork approval, material decisions, production, installation, and final walkthrough. If several pieces are involved, one production partner can coordinate the print, finishing, and install work so the details land together.